Motor Swap with upgrades and repairs
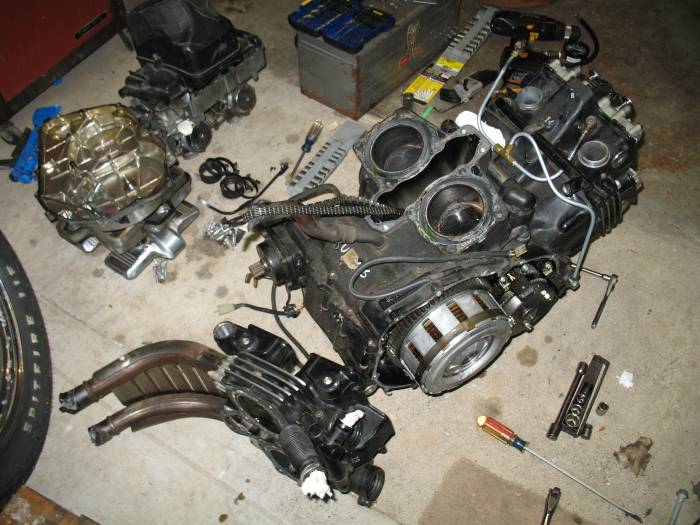
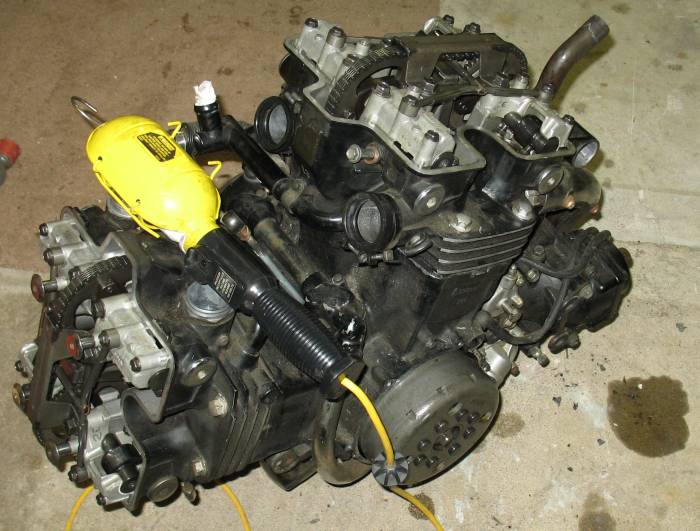
| "New" motor getting ready to be
inserted into the frame. One cylinder had low compression - valves, not
rings - so I pulled the head and lapped the four valves (compression is
now even between the four cylinders). Work is started on crafting the
oil lines for the heads / valves. This motor was in a bike owned by Steve R. (crashed in 2000) and then by "Physic's Dan" who totaled it in 2001. I purchased the motor (late 2006) from David H. who had it sitting in storage. It has perhaps 30,000 miles on it - whereas mine has about 72,000 miles. |
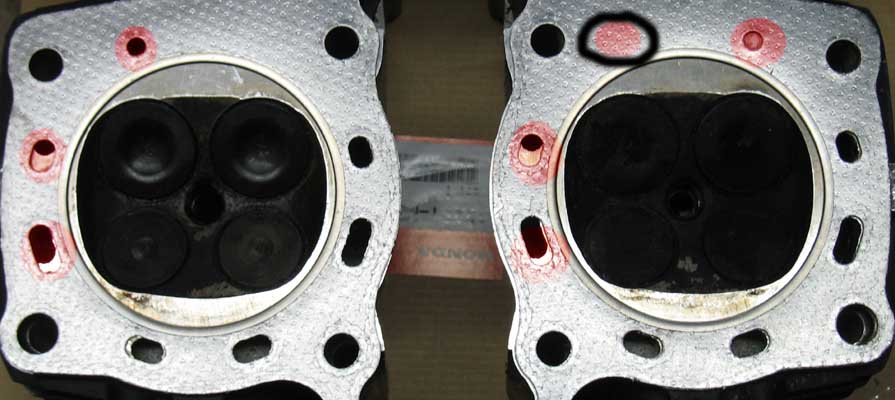
| Head gasket questions... See next photo. |

| Here's an annotated photo showing where the Honda head gasket does and does not fit to the head. Some of the coolant passages either do not fully match or are completely blocked. Group consensus is that it is acceptable. |
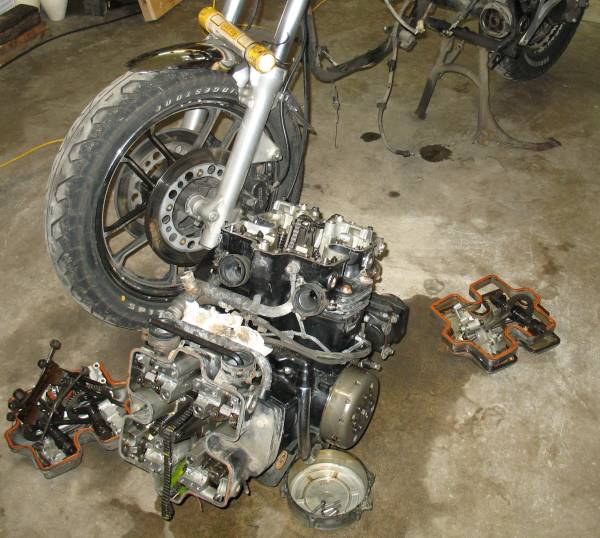
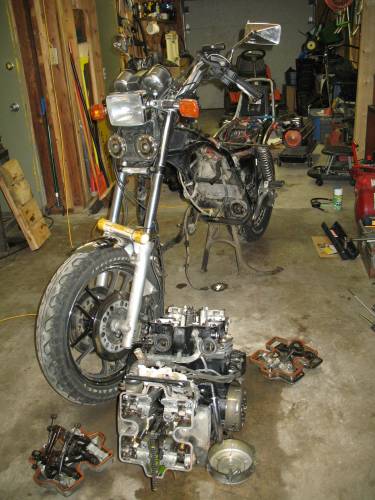
| After pulling the seat, side covers, fuel tank, these are the remaining parts that needed to be pulled before removing the motor. To me, it really doesn't look like "much". |
| Old motor out. Heads / Cams pulled apart so I could swap the best rocker arms to be put into the "new" motor (yep, some of my rockers were better than the other motor - but the other motor does have better cams). |
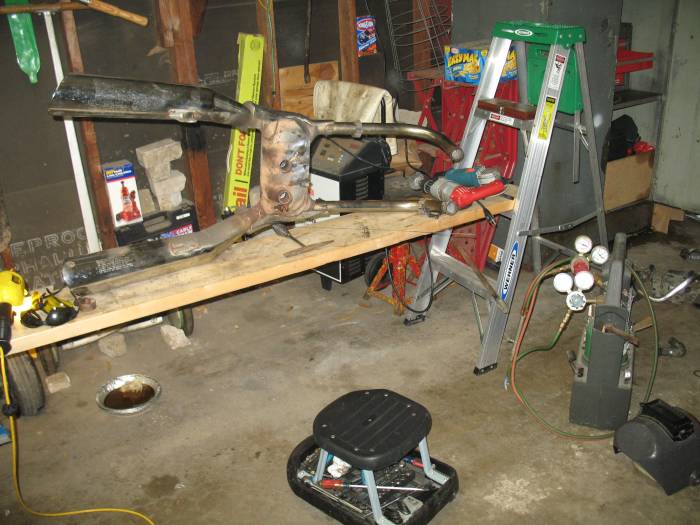
| No workbench available - but at least I have a warm and spacious garage to work in. |
| "New" motor getting ready. Cams are in, valves adjusted - getting close to be installed. |
| The bike looks very bare w/o a motor. |

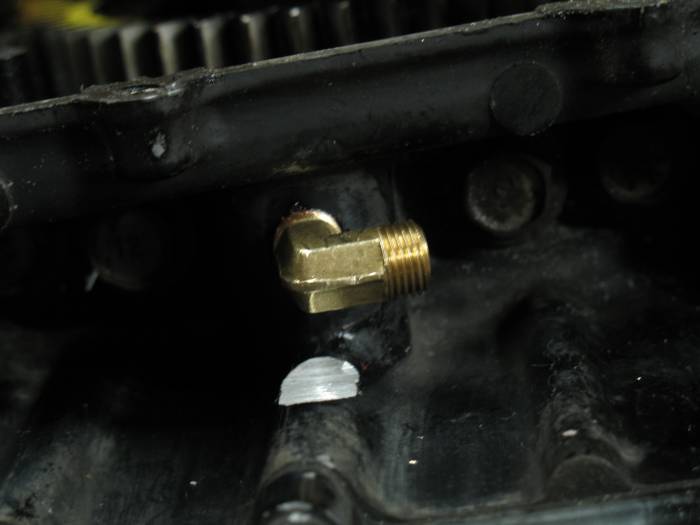
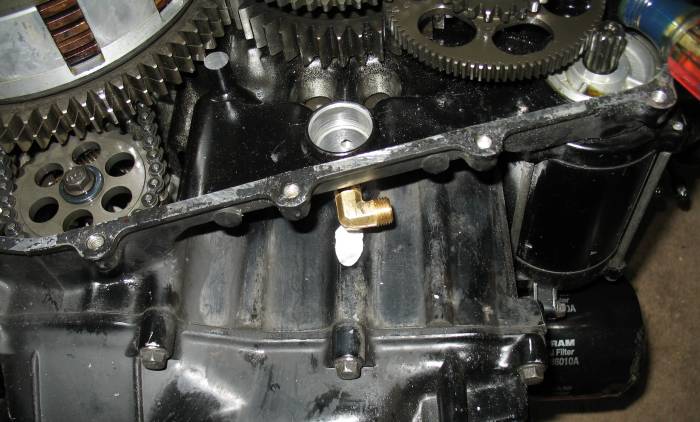
| Doing some work on the "Drill-n-Tap" oil modification. This is the Drilling and Taping portion. The brass fitting in the center of the photo. |
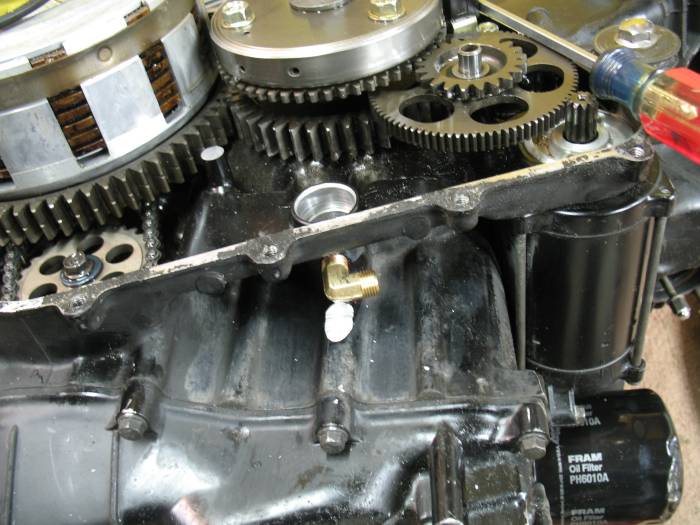
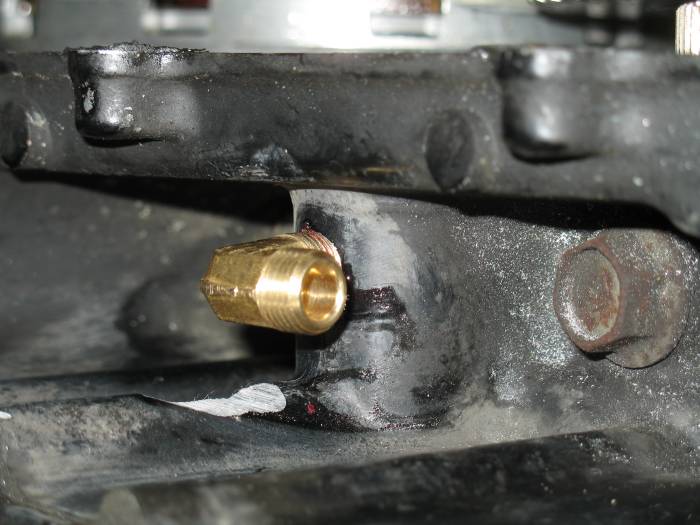
| This is the main oil gallery,
filled with filtered oil from the oil pump. Small ports off of this
tube route oil to the needed bearings. The heads, by factory design, are lubricated by oil from the transmission (lower capacity flow). The camshafts are not line bored. It is believed that between the two items this is the cause of cam / rocker arm failure in these motors (really the only reliability issue with these motors). While the user can't solve the line bored issue they have come up with alternatives to the oil supply. [Note: Having this knowledge available is fantastic. The ease of communication / collaboration allowed by the Internet tied with a popular item that is studied by people around the world.] You could either install an oil filter adapter to pull oil from that location to be routed up to the heads or to drill into the main oil gallery for the supply. The adapter is easier - but more expensive - about $250. The drill-n-tap method can be less costly, $20 to $100, but it involves more work. On my past motor I did neither. The reason why is that "some" motors "seemed" to be exempt from the destruction. I kept monitoring the condition of my cams / rockers at each valve adjustment and they were staying in reasonable condition. Some pitting on the cam lobes but nothing drastic. I thought that my driving style and the mechanics of the bike would "get me by" without having to do either modification. Obviously not the case. |
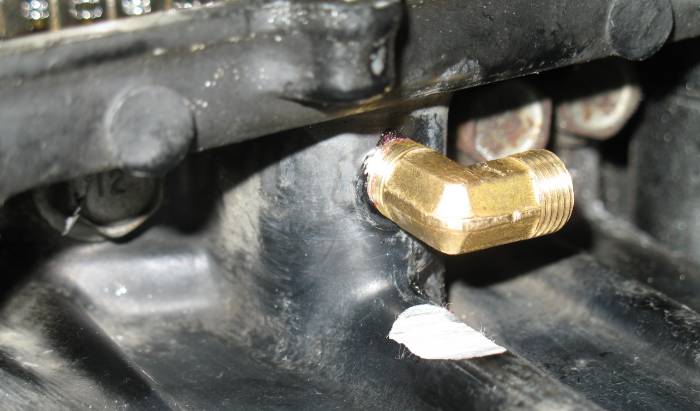
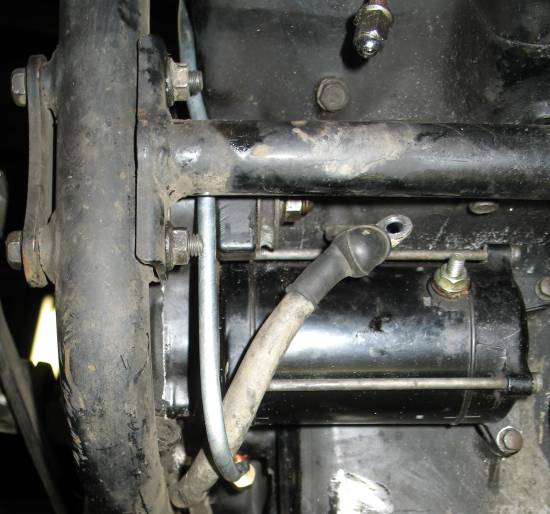
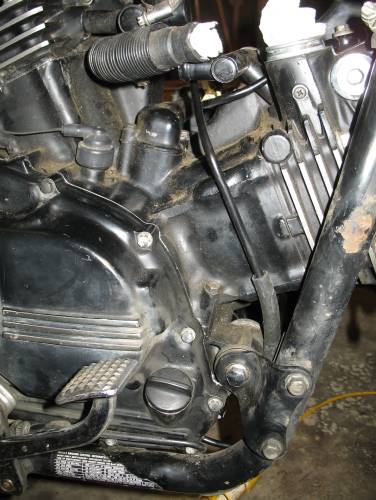
| The motor is now in the frame. This photo is showing the unpainted oil line as it routed from the brass fitting, forward, and up around the side of the motor. |
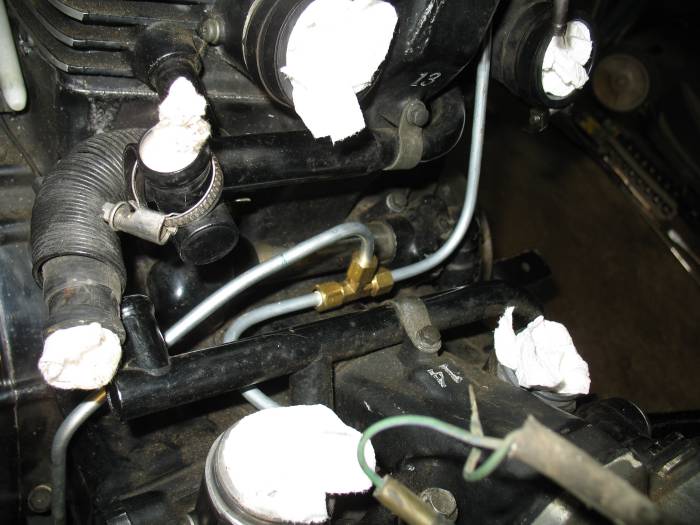
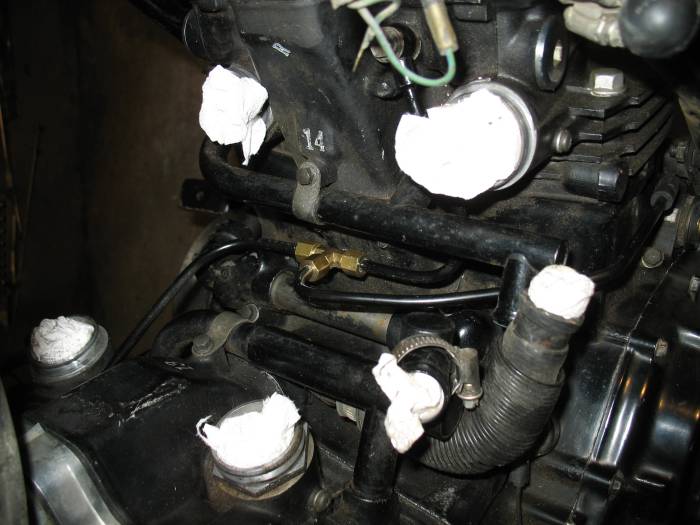
| The junction in the Vee where the supply is split to each head. |
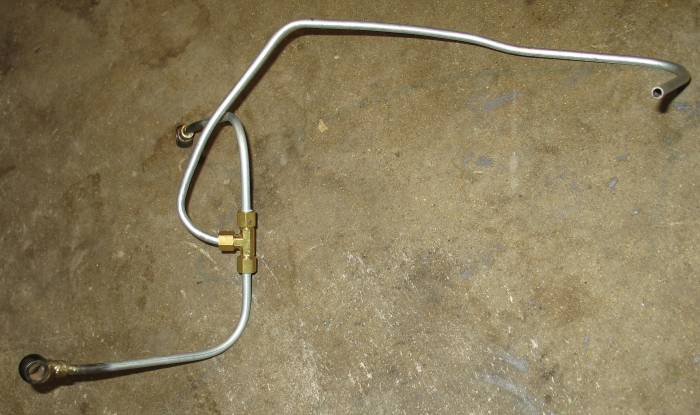
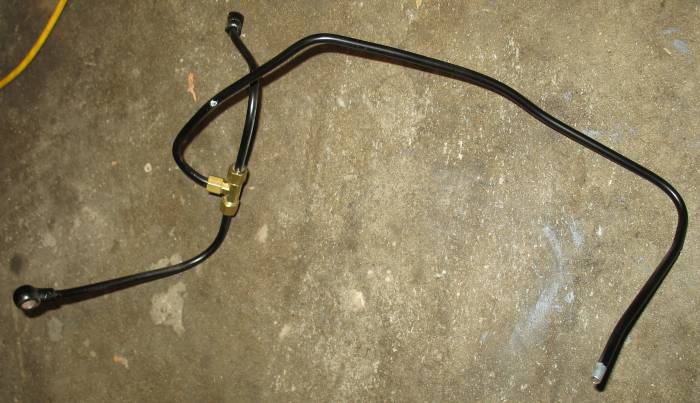
| Assembled oil lines. Cost - well let's see. There's a 90'deg fitting on the motor ($2.50), a Tee ($3.50), and some 1/4" brake line ($5.00). I needed a drill and tap for the hole into the oil gallery ($12.00). |
| Primed and finish coated. |
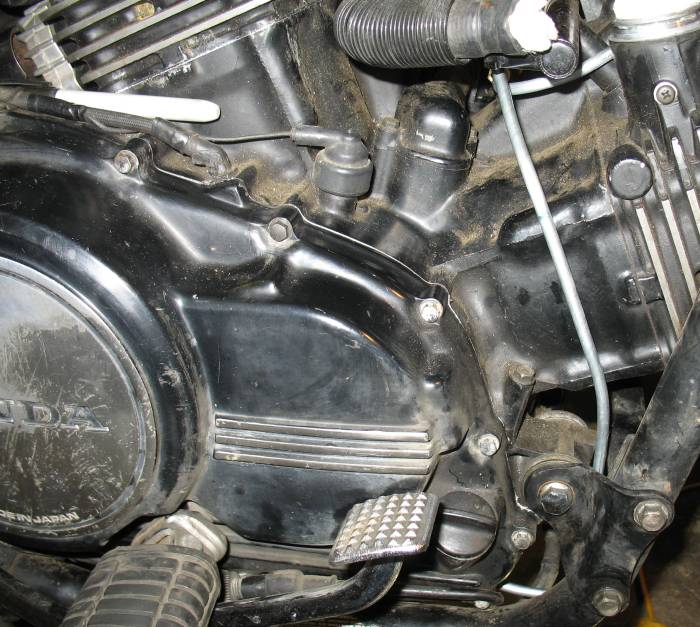
| Installed. Some black fuel line sleeved over the tube in the close fitting areas. |
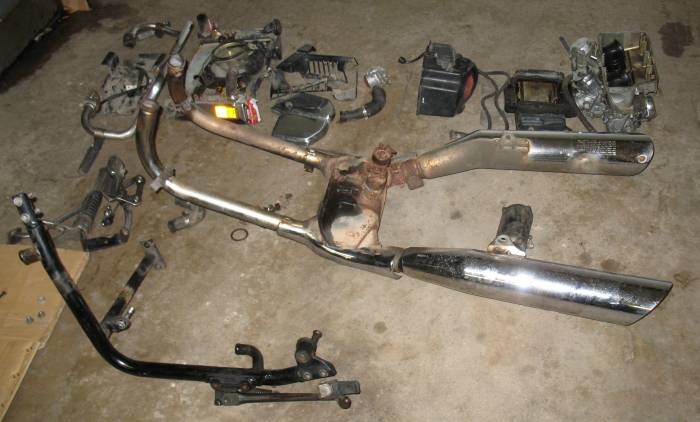
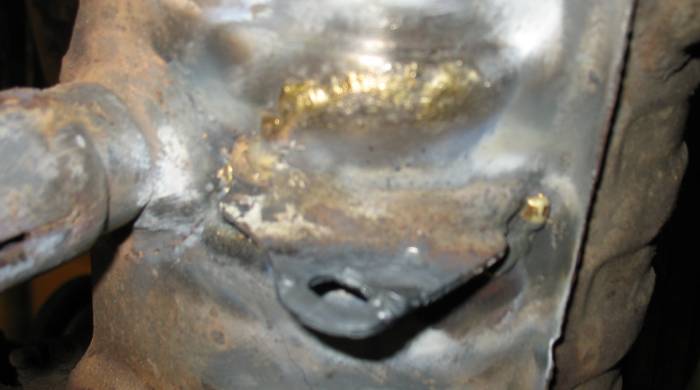
| Now for the exhaust. The collector (the can in the center of the exhaust) has a couple cracks and each mounting tab is broken. I brazed the crack as I didn't want to risk welding it and blowing through the metal (I'm what would be considered a beginner at welding). |
| Crack brazed. Mounting tabs welded on. I was happily surprised in that my last bead looked great (I'm hoping it's mechanically great)! The others looked terrible. |
| Well, there's a bit of follow up... I've been out on two rides with it - one was fairly short - 5 or 10 miles. While the other was much longer and is written up on the site along with a few sunset photos (clicky: 2006-11-24-Dubuque-shakedown-ride). I'm getting some leaking in the oil line (and some coolant leaking on the motor too). The Tee fitting leaked a lot during the short ride - perhaps 1/8 of a quart in the 10 miles. Out came the shady-shade tree mechanic's fix - two-part epoxy. The Tee-fitting was pulled apart, cleaned of oil, and partially re-assembled. Epoxy was then added as a permanent sealant to the connections. There was no issue of epoxy getting into the line/s and causing a restriction in flow. Oil leakage is mainly stopped at the Tee. I'm still getting some oil seepage at the banjo fitting on the rear cylinder head. I'm using the "old" compression washers as Honda didn't supply the proper replacement washers. Fortunately I can work with this fitting w/o having to pull the carburetors (the front fitting is difficult to get at). I'll take it up with Honda regarding the proper washers. The other issue is coolant seepage from the coolant pipes where the enter the block. I'll keep an eye on these - there's a small chance that they'll stop leaking before long but I'm thinking that I'll have to pull them off and replace the O-rings in there. If I do end up pulling the carbs I'll do these O-rings and will probably get rid of the Tee fitting - I have a new idea for this junction. Essentially I'll use the old stock oil line and braze in a custom made Tee fitting. This will have an advantage of using the factory stand-off supports to the oil line. |